For those of you who love taking photos of your holiday and the beautiful Ibizan scenery, here are some tips to help take shots with that wow factor.
Equipment
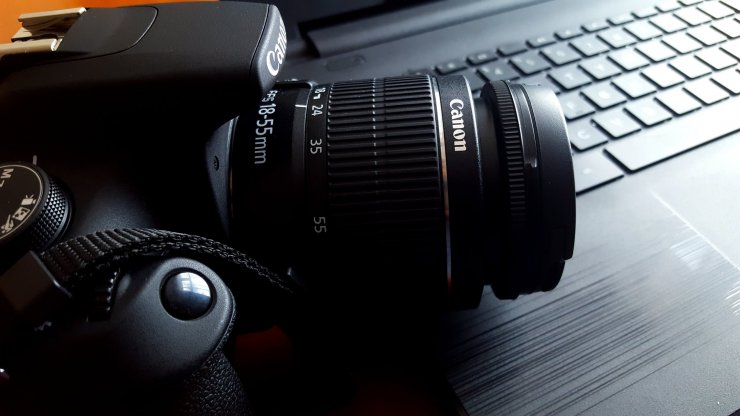
Although modern phones do take some very good quality images, a proper DSLR or mirrorless camera will always capture a better image. That said, if you haven't got one don't worry, most of this tutorial is about being in the right place at the right time. So read on.
If you're going to be taking a photo at night or in low light (like during the blue hour, just after sunset), some kind of tripod or phone stand/grip is highly recommended. The reason being, we need to have longer exposure (the camera's shutter will be open longer) and, if the camera is moving, you will get blurry images.
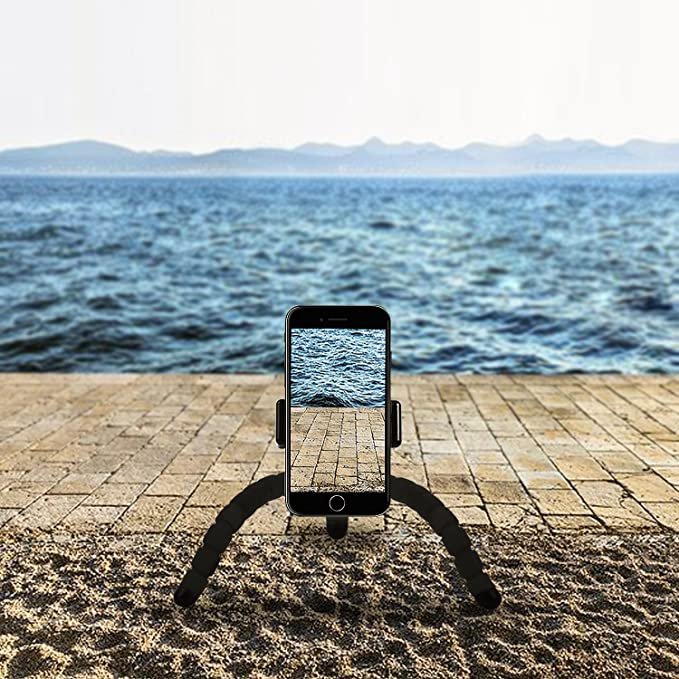 Rhodesy sells this Octopus Style Tripod Stand Holder for Any Smartphone for about 20 GBP.
Planning
Irrespective of what camera you are using, planning your epic shot is vital. Weather, sunrise, sunset, sun position, moon phases all come into play, so you're going to need some help finding the right time for your shot.
Here are some free apps to help with the planning of your shot.
1. Most of the time we want nice clear skies and Clear Outside is a great free app and will give you great information such as seven day hourly forecasts, low, medium, high and total cloud cover.
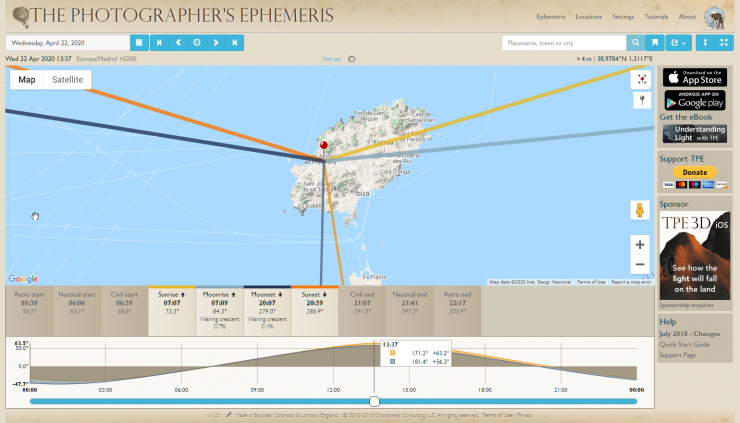
2. Sun and Moon. The time of day and where any one of these 2 celestial objects are, is always important. The light around sunrise and sunset is always more interesting and the Photographer's Ephemeris is another great free app for finding the right hour and place for your shot. You'll see the lines of where the sunrise, sunset, moonrise and moonset are on any given date and you can scroll through that day and see the movement of both over 24 hours.
The hours just before and after sunrise and sunset (the blue hour) are also great times to shoot, as you get that deep, vibrant blue colour of the sky. You will need longer exposures for these shots though and the camera support or tripod is essential.
Now we have confirmed the weather and know where the sun and moon will be, it's time to pick our location or subject of our shot. There are a few ways to do this but I recommend one or combining these two:
From memory.
If you've already been to a special spot in Ibiza and you want to shoot there, perfect! All you need to do is decide what time of day you think would best suit that location. Is it high up or surrounded by hills? Which direction will you face for your photo? Use the Photographer's Ephemeris, drop a pin there and see where the sun will be.
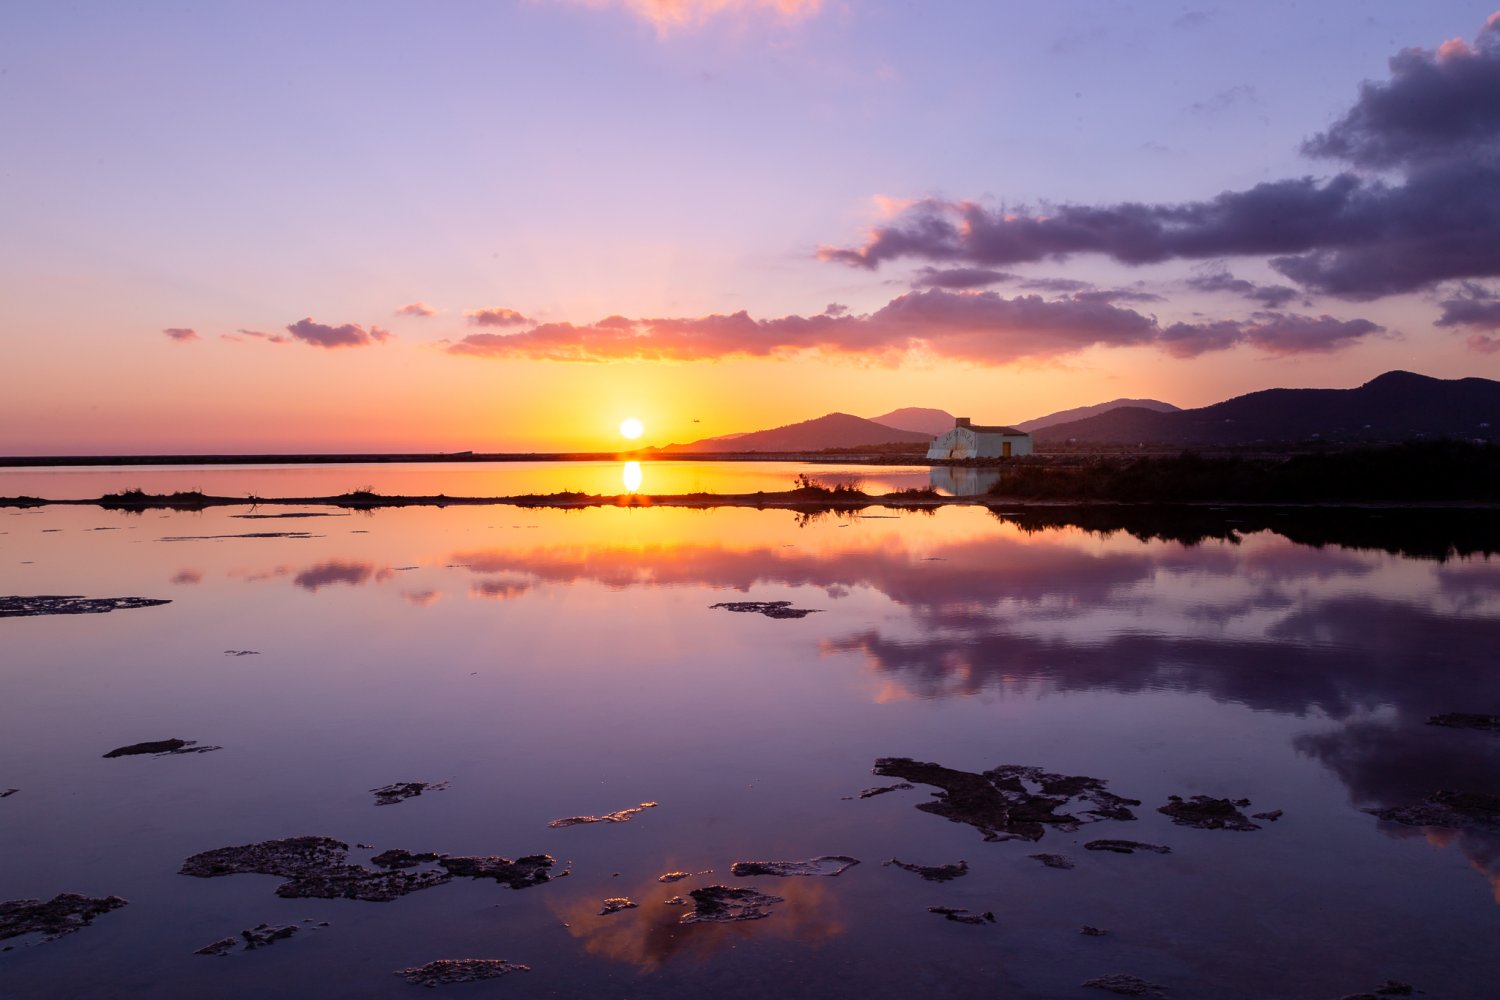
If you are shooting the sun or moon make sure they aren't going to be blocked by land. If you move the pin until you have a clear line of sight. Although you can shoot directly into the sun, it's not advisable when it's still quite high. Try to keep the sun at your back unless of course, you're shooting the sunrise or sunset.
Google maps and street view.
If you're unsure of what to expect from a location, Google street view can often save you a trip (and heartache) by showing you a view, simply by dropping the little yellow "street view man", from where you want to shoot from. Nearly all of the roads and dirt tracks in Ibiza are on street view and it a great way to confirm there is a shot before going. You'll also find places where people have taken photos off the roads (photospheres), so have a look for those too.
Photosphere example made by Google users
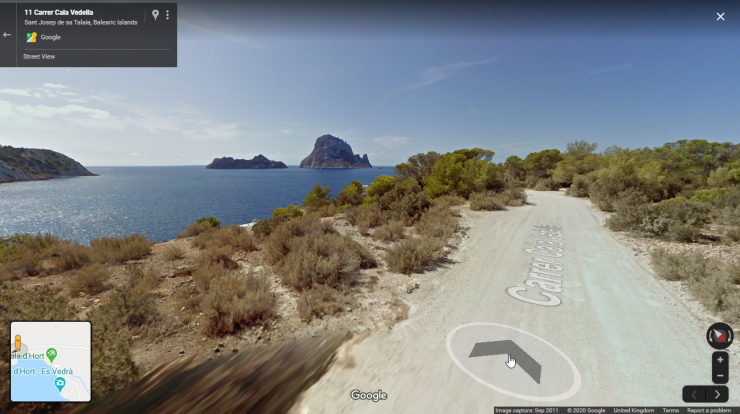 Google Street View example
Travel time
If your photo is very time-specific, try to get to your location with 20 minutes to spare. Google maps will give you a good idea of travel times and walking distances, but add a little bit extra on just in case!
Taking the shot
So you've found your picturesque location, the right time of day and the weather is perfect, it's time to shoot! I'm not going to get too bogged down with the technical aspects of photography, but here are some fundamental tips for your photo.
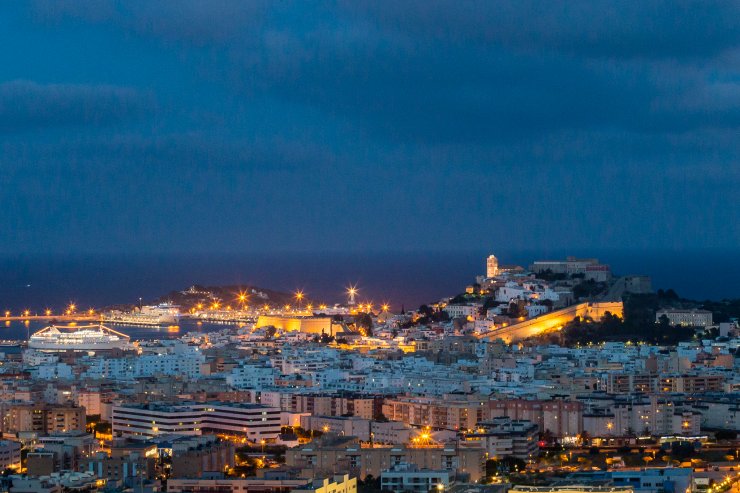
Composition, exposure and focus.
Try to fill your frame with the main subject and leave out unwanted things that might distract your view eg. a rubbish bin. If you have a zoom lens, you can use your zoom to frame exactly what you want to see. If you are using a phone, simply walking closer or further away is recommended over using digital zoom. Sometimes a little foreground element can be used to direct the eye to your main subject; like a path or road or some rocks.
Expose and focus on the main subject. On a modern smartphone, tap on the area of your screen close to the subject you would like to expose. On some newer models, a light meter will appear and you can even adjust the exposure manually here. Also if your phone has HDR (high dynamic range), turning it on will combine exposures to give your photo the most detail in shadow and highlight areas.
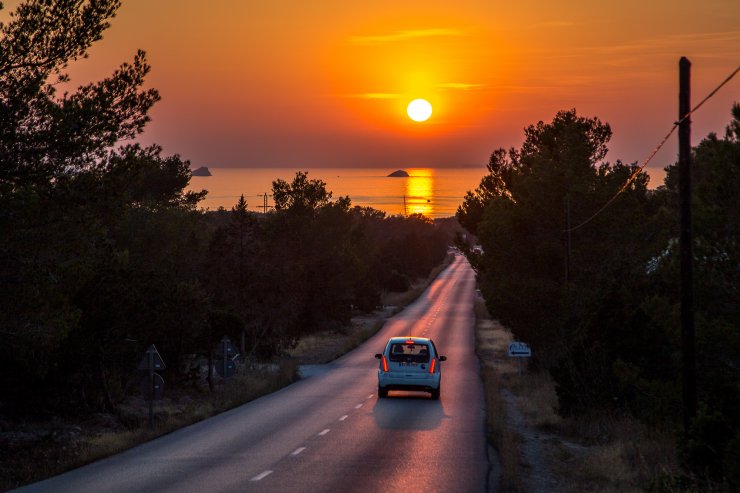
If you are shooting the sunset, don't expose for the sun's centre but just off it, where the light isn't so bright. This will give you nice rich colours and won't over or underexpose the sun's light. Have a play around with different exposures before taking the final photo. For low light shots, use a stand or tripod, this steadies the camera and allows the shutter to be open for longer times without introducing blur.
When shooting with a DSLR, use manual mode and shoot in Jpeg + RAW mode. RAW just means there's no compression applied to the image and, when you edit it later, you'll have more information in the file for colour correction. For landscapes with plenty of light, set your aperture to between f8 and f16, ISO at 100, and then adjust the shutter speed to control your exposure. As with a phone, pick a point somewhere between the brightest and darkest parts of your composition. Also, check the white balance is adjusted correctly to an outdoor setting.
Post-processing your photo.
Post-processing your photos is really down to personal taste. Most photos will need some kind of colour correction, especially if you shot in RAW format, but try not to overdo it. Photos which have been over-processed start to show signs of banding and nasty artefacts. Adjust your exposure, white balance, contrast and saturation until you feel you are representing what you really saw when you were there.
Some last suggestions
One of the most gratifying things about landscape photography is being out in nature and enjoying it. Remember to look up from your camera and take in your surroundings, you'll notice things you may have missed the last time you were there. You might get even more inspiration.
When you've captured your special shot and processing is done, think about professionally printing it, so you can have it in a physical form and not just on your PC or phone.
RELATED
See our article about photographing the night skies over Ibiza and Formentera
